In tio, we use a variety of solutions depending on the requirements and scope of a project. We believe there is no point in being insistent if there is a solution out there already. Shopify is one of the tools we use from time to time. Although default features and themes can be a bit limited, you can always have the opportunity to build your own theme by adding custom components. This way, you can make your store much more effective.
In our previous articles about Shopify, we clarified how to add custom fonts in Shopify and how to enable multiple currencies in Shopify.
In this article, we will show you how to customize both main and footer menus with some examples.
5 Reasons Why You Should Add A Custom Menu
- User Experience: Menus are effective for any modern website in terms of user experience since well-navigated menus can increase discoverability and usability. Menus can be supportive for the onboarding phase too.
- SEO: Search engine optimization efforts, on the other hand, can benefit from well-designed menus, since menus are a big part of website navigation and internal linking. They make crawling easier, decrease crawling budgets, increase CTRs and decrease steps users should take for conversions. (You may check this article about user effort in digital products.)
- Conversion Optimization: Users navigate your online store using the links on pages or via links in menus. You can make it easier for your users to explore your store by customizing the menus and links that appear in your store’s header, footer or sidebar. They can’t buy what they can’t reach. So, you need internal linking for the conversion.
- To build a better overall experience: You need to create custom menus just like most of the other components in the Shopify store. You always have the default theme as it is, but there are too many opportunities to create your own components. Adding custom components may be required for following branding guidelines or maybe as a part of your linking strategy. No matter what, it’s good to know how to customize a theme. Although we focus on menus this time, building your store requires similar efforts for different parts.
- To make your design responsive: Navigation menus are supposed to make it easier for your visitors to move around your site. For this reason, it is important to be sure that your website is suitable for different screens, which means being responsive. Responsive web design considers too many different things. One of them is using CSS media queries to enable a web page to scale since screen sizes vary and your store should be scalable depending on ratios.
How Do I Add a Custom Menu in Shopify?

First of all, two types of default menus come with any Shopify account. When we create our own depending on our needs, we need to do it by making changes to these default menus.
As you can see below, when you click Online Store > Navigation; Menus show up. It contains Main Menu for the header and Footer Menu for the footer by default.

You can add as many menu items as you want, and you can remove them as well.
💡 You can also create a submenu for the menus. It’s pretty easy; you should create a submenu, then drag it under any menu. Now, you can insert links to your pages in these items.
You can build your store’s navigation by adding items to menus and inserting links in them. Items can be linked to products, collections, specific pages, posts, etc. To link something to your menus, you should create the item first. You can edit or delete any of them, at any time you want.
Default Main Menu contains these items by default:

Default Footer menu contains these ones by default:

If you click Customize, you can see menu settings for the Header menu and Footer menu.

What you see below is what a default Menu looks like:

How To Create A Hamburger Menu in Shopify?
Now, by using HTML, CSS and JS whenever it is needed, we will create a custom menu for the header. It will be a hamburger menu for the Dawn Theme.

We will edit the theme in the edit code. We should create a new asset file in the Assets folder and define this file under base.css code in the theme.liquid file, to define our own CSS codes.
In screenshots, you’ll see that we won’t remove the default menu, for now, so we can see the difference. We can remove it when the custom menu is finished.
We will write HTML codes in the theme.liquid, and CSS codes will be in the tio.css which we have created as an example.
Firstly, write the necessary HTML codes properly to the menu shape you will create. So, you can shape it with CSS step by step.
I added the open type menu’s navbar codes basically under the section of the announcement-bar.
For adding a logo at this point, we should define a logo first:
💡 So, how to define a custom logo? It’s pretty simple. To do this, you need to upload a picture of your custom logo and select it in the Header.

Now, all you need to do is define the src link of the picture you uploaded before in HTML codes:

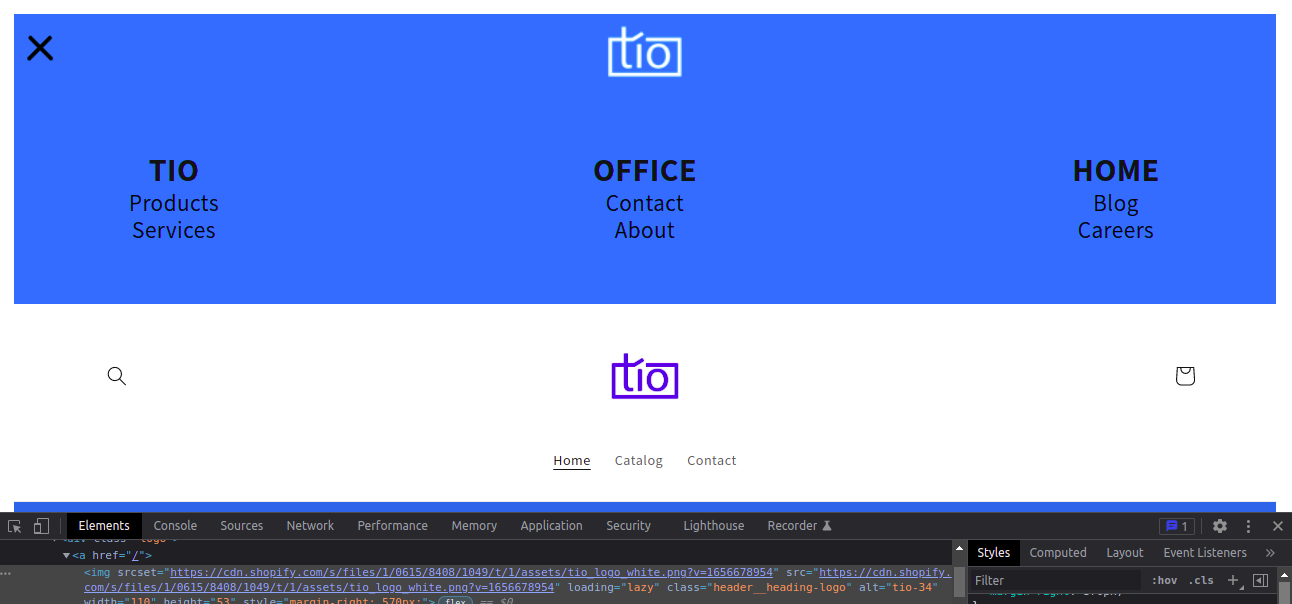
It looks like the below with no CSS yet:

Inspecting the HTML structure of the page is important to see how the code works. In this way, we can implement the features we will give in the code source by trying them in element.style under the Styles.
It’s up to you to change the given CSS to create a unique menu for your Store. If you prefer changing, you just need to write them in the CSS file you created.
After customizing the elements you want, if you want to delete the default Shopify Main Menu, you can manually disable it or add the code display:none; in the related class.

What About Adding Custom Menu For Footer?

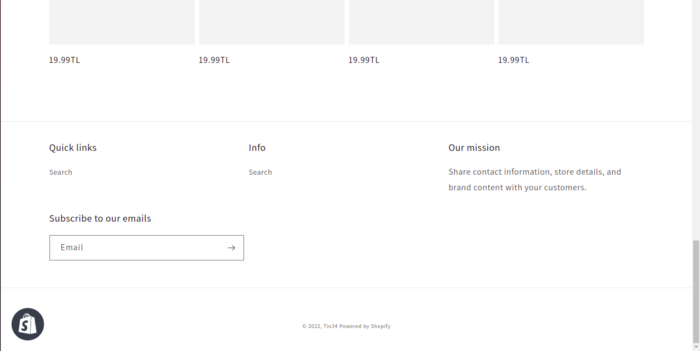
Here is what it looks like without any additional CSS:

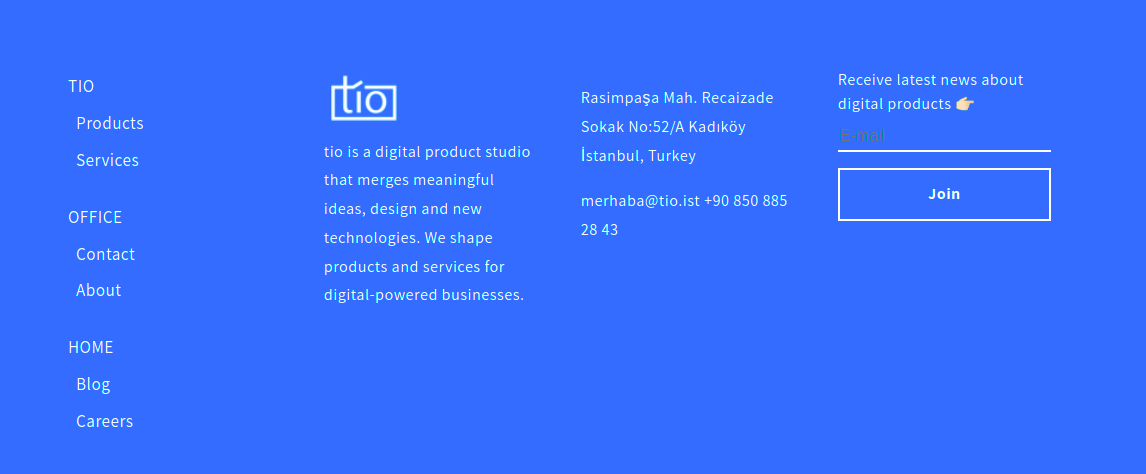
And here is how it looks with some CSS:
As a Result,
Navigation menus are one of the most important elements of your Shopify theme as they help orient and guide the user through your store. These menus affect how shoppers discover your product offerings and other information they’re looking for. That’s why it’s important that your store’s content is easier and more accessible.
While designing the menu, it is necessary to position correctly and link content, pages, contact information, etc. Making your menu unique and attractive also gives you an advantage. That’s why Shopify gives us the opportunity to customize themes. With HTML, CSS and JS, you can add custom menus from the edit code.
If you’re using HTML, CSS, and JS in a product you’re developing, you should have to understand these exactly: HTML is the skeleton of your product; CSS is the texture of the surrounding skeleton, and JS is a mechanism that makes the correct functioning of the skeleton and raises the product to its feet.
When these come together, you can make developments that make your products unique.
Shopify is also a product that you can make unique. Using opportunities to customize, such as creating menus manually, you can make your store unique.
That’s why you need to understand every step of the development flow from zero to launch. If you think this way, it’s possible to align the workflow of editing the default menu and building your own from scratch. They’re very similar processes, aren’t they?
We hope this article will be useful!
You can reach us for any question about Shopify development.